(a) “I, Sebastian Yanes, affirm that I completed my independent component which represents 30 hours of work.”
(b) "The Soul of a Tree A Woodworkers Reflection" by George Nakashima, Interview 4 with David Wade, Mentorship with Paul Yanes, "Worker in Wood" by James Krenov, & "Box- Making Basics: Design, Technique, Projects" by David M. Freedman.
(c) Independent Component 2 Hour Log
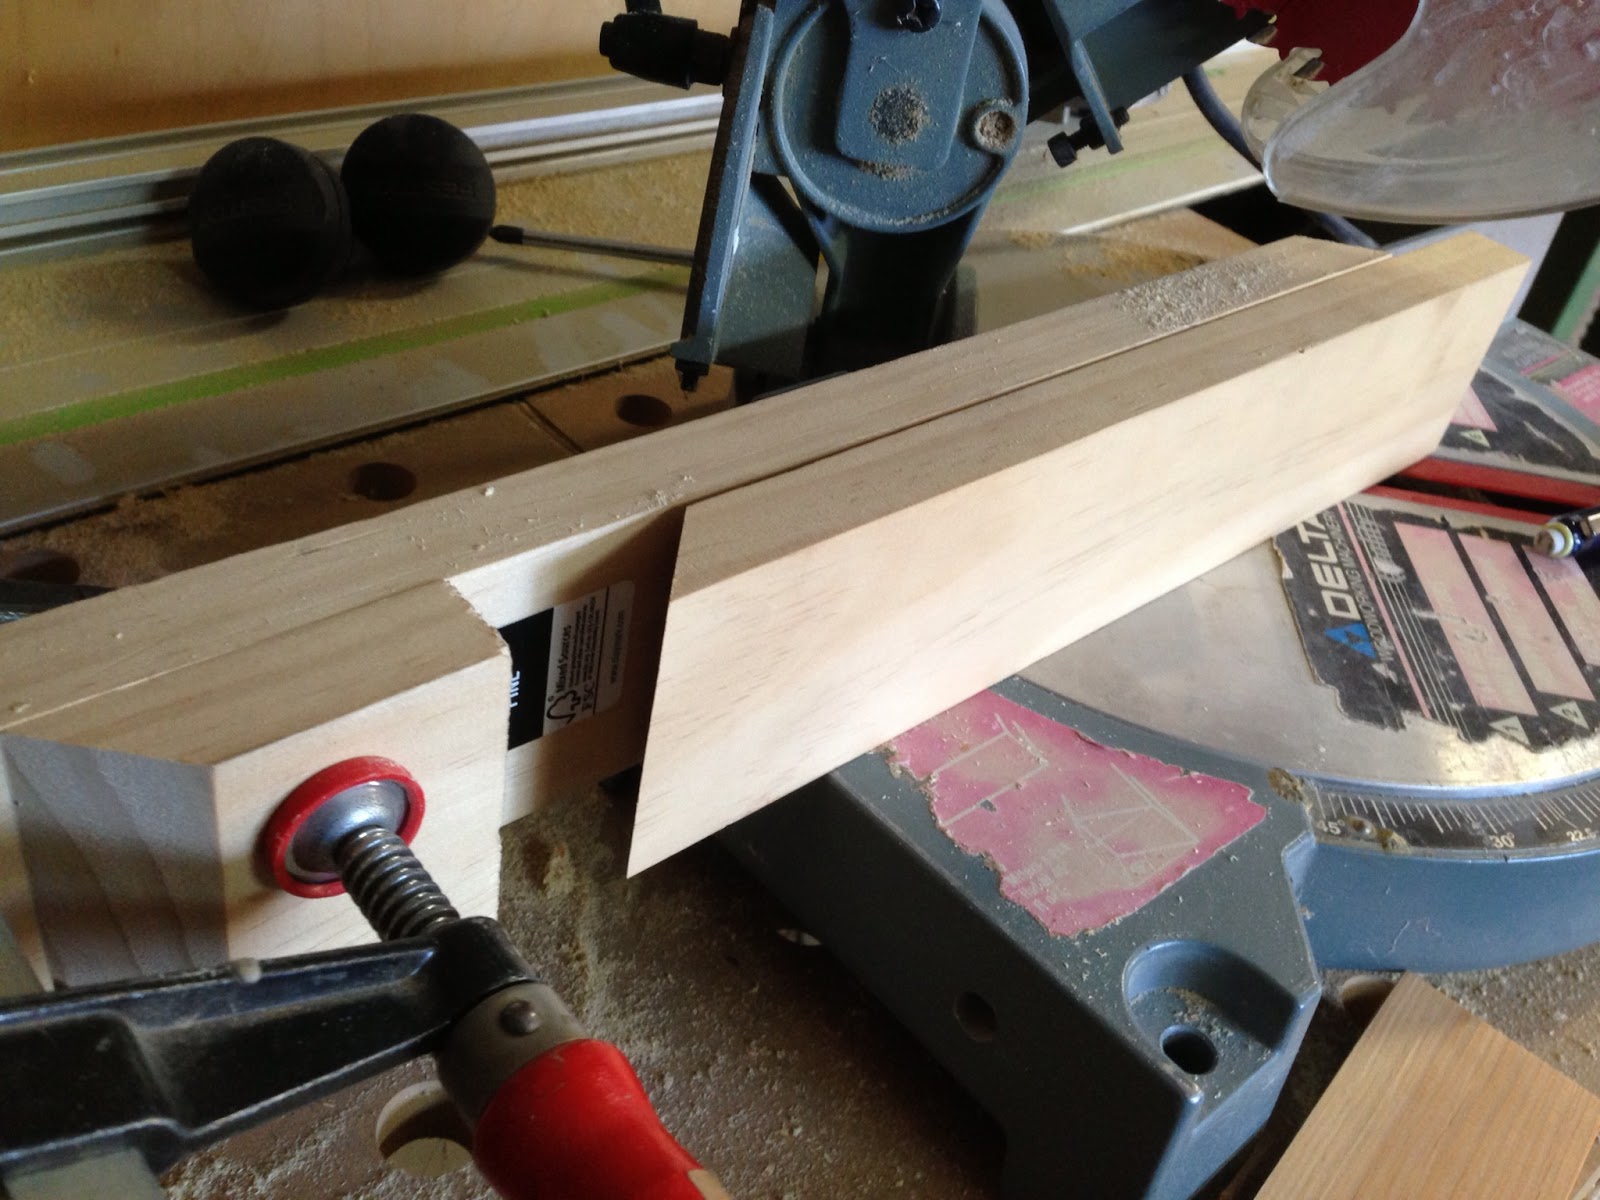
(d) I was able to make three different types of joinery. One was a visible finger joint, another was a half hidden/concealed finger joint, and the last was a 90 degree joint. I then was able to begin to use one of the joints to make a jewelry box. I had to make a jig which is a wood template that allows you to make the same cut/joint so that it is exactly the same, and you can make it faster. I used Pine Wood and a Mahogany Veneer. I was not able to complete it, although I am nearly done. I will be finished by no later then Wednesday and post a picture of the completed version. I also matched the grain of the wood so that it can flow and was able to refine the wood with a unique technique I learned from my mentor to make dents in the wood vanish.
INTERPRETIVE
(b) "The Soul of a Tree A Woodworkers Reflection" by George Nakashima, Interview 4 with David Wade, Mentorship with Paul Yanes, "Worker in Wood" by James Krenov, & "Box- Making Basics: Design, Technique, Projects" by David M. Freedman.
(c) Independent Component 2 Hour Log
(d) I was able to make three different types of joinery. One was a visible finger joint, another was a half hidden/concealed finger joint, and the last was a 90 degree joint. I then was able to begin to use one of the joints to make a jewelry box. I had to make a jig which is a wood template that allows you to make the same cut/joint so that it is exactly the same, and you can make it faster. I used Pine Wood and a Mahogany Veneer. I was not able to complete it, although I am nearly done. I will be finished by no later then Wednesday and post a picture of the completed version. I also matched the grain of the wood so that it can flow and was able to refine the wood with a unique technique I learned from my mentor to make dents in the wood vanish.
INTERPRETIVE
This independent component was significant to me because it I was able to do most if it on my own and had my mentor there just to watch over me and help me incase I was doing something wrong. More importantly, it taught me the basics of building furniture for a customer, not for myself which was extremely different because you had to limit your ideas and think what would best appeal to your customer as suppose to what appeals to you. It made me confident in all three of my answers which are finishing, joinery, and material. I had to focus on what type of joinery to use and how to make it. I decided to lean more towards aesthetics as suppose to function so I focused on the finishing and material more then what joinery to use. I decided to explore my second answer which was joinery, and was able to make three examples of different joinery. I made a finger joint, a concealed finger joint, and a 45 degree joint. I decided to go with the 45 degree joint because it was more challenging, and also because I could make my furniture piece focus more on the finishing and material as suppose to the joinery because I would have had too much detail for such a small object. It would have been very overwhelming I think. So I made a jig and a guide to make the 45 degree joint, spent time nurturing the wood, assembling the jewelry box, finishing the inside with the Maloof finishing, sanded the piece, make test pieces so I could get the right jig so the dimensions where all the time. It was just over 30 hours of work. This component was most important because I took everything I gave learned in my research and experience with my mentors and applied it to this project and applied all three of my answers. I saw the importance of finishing and the affect it has in furniture first hand, I was able to explore more joints and made my own to see their pros and cons and decided which to use for the jewelry box, and I had to hand pick the right materials so that the grains texture, and the colors all matched to give it an affect that was smooth.
APPLIED
This component helped me really understand the importance of all of my answers. I am more confident in explaining and backing up my answers because I have evidence and experience doing them. I was able to realize how important finishing is when making furniture such as a jewelry box (case good) because it really brings out the grain of the wood and the texture and changes the color at times. It's extremely hard to get the color and texture right when applying the finishing because you can either make it look very unnatural, which does not look good, or you can apply the finishing so the piece looks just right. I applied thing layers so that I can get the right look with the finishing. I also explored the joinery and saw that the joinery really does hold the piece together, and i saw how difficult it was to make jigs for joints. It was hard to choose the right joinery, but in the end, I went with the joint that was best suited for a small piece of furniture that had very simple detail and was not extremely overwhelming. And lastly, I was able to focus on my best and third answer which was the material. I really took the material into consideration because i did not want the grain of the wood to be so simple to where it wasn't noticeable, but I also didnt want it to overwhelm the piece and take over. I decided ti use soft woods because it is easier to make this type of joint with soft woods, and the grain is not as exotic. The grain of Pine WOod is smooth, elegant, and very settling. The mahogany on the inside is very clean and the grain and texture is durable to maintain jewelry pieces. I also made sure the direction of the grain flowed. I took more time nurturing the material and making sure the grain flowed then anything else. So the material is extremely important and it is what I personally take into consideration the most hen making an aesthetic piece of furniture.
 |
| Run way of a jig to cut Finger Joints. |
 |
| David Wades Woodshop. |
 |
| Jig I made myself for 45 degree joint with a guide/stopper (left) |
 |
| Half concealed finger joints (fingers are dovetails to create pattern) |
 |
| Full picture for the finger joint jig. |
 |
| Completed finger joint. |
 |
| French curve template and pin bits. |
 |
| Finishing making the groove for the bottom panel. |
 |
| Applying maloof finish to the inside of the pieces. |
 |
| Gluing the pieces together with clamps. |
 |
| Making sure the corners are as perfect as possible after going through dozen of pieces |
 |
| The first version of the jig for the 45 degree joint (prototype failed)... |
 |
| Finished rounding off the edges. |
 |
| Make sure the cut will be accurate because joints is about precise cuts. |
 |
| Cutting the 45 degree joints. |
 |
| Base of box is now assembled, glued, and finished inside with Mahogany. |
 |
| (Before) Clamps made dents in the wood (before refining with water and ironer) |
 |
| (After) Wood is refined from the dents created by clamps is complete. |
APPLIED
This component helped me really understand the importance of all of my answers. I am more confident in explaining and backing up my answers because I have evidence and experience doing them. I was able to realize how important finishing is when making furniture such as a jewelry box (case good) because it really brings out the grain of the wood and the texture and changes the color at times. It's extremely hard to get the color and texture right when applying the finishing because you can either make it look very unnatural, which does not look good, or you can apply the finishing so the piece looks just right. I applied thing layers so that I can get the right look with the finishing. I also explored the joinery and saw that the joinery really does hold the piece together, and i saw how difficult it was to make jigs for joints. It was hard to choose the right joinery, but in the end, I went with the joint that was best suited for a small piece of furniture that had very simple detail and was not extremely overwhelming. And lastly, I was able to focus on my best and third answer which was the material. I really took the material into consideration because i did not want the grain of the wood to be so simple to where it wasn't noticeable, but I also didnt want it to overwhelm the piece and take over. I decided ti use soft woods because it is easier to make this type of joint with soft woods, and the grain is not as exotic. The grain of Pine WOod is smooth, elegant, and very settling. The mahogany on the inside is very clean and the grain and texture is durable to maintain jewelry pieces. I also made sure the direction of the grain flowed. I took more time nurturing the material and making sure the grain flowed then anything else. So the material is extremely important and it is what I personally take into consideration the most hen making an aesthetic piece of furniture.